
We recently took a look at creating a MySQL database with AWS RDS. Today, let’s go through the steps of logging in.
Creating Our Connection
We’ll use MySQL Workbench for this example. Feel free to grab the latest version from over here.
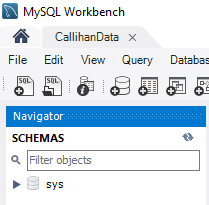
Let’s open up Workbench and click the plus sign next to MySQL Connections to create a new MySQL Connection:

And enter a Connection Name:

Next, we’ll want to enter the Hostname. Where do we find the hostname? We’ll want to go back to AWS to retrieve that value.
Finding the Endpoint
If we’re back at our AWS Management Console, let’s search and select RDS. We see that we have 1 DB Instance in use.

We can click DB Instances and get our list. We’ll click our instance to get more information.
We want to copy the endpoint under the “Connectivity & security” section.
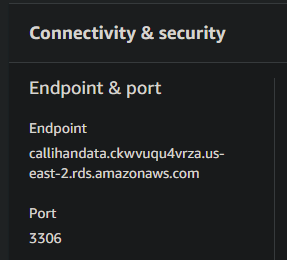
We’ll paste that in as our hostname and make sure the port matches our original configuration. Once we have our username entered, we’ll click the Test Connection button:
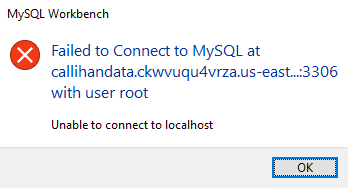
Unable to connect? What’s the problem? Let’s go through one more step and see if we can connect.
Adding an Inbound Rule
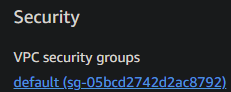
Back under “Connectivity & security” let’s click on our default VPC security group.
Towards the bottom let’s choose Inbound rules and then choose to edit inbound rules.

Set the Type to “All traffic” and for Source type I’m going to select My IP.
We can Save rules, go back to Workbench, and try testing the connection again.
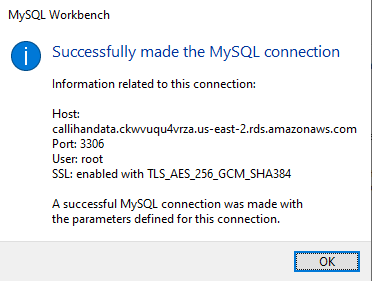
We can now login successfully.
Thanks for reading!

One thought on “Logging Into an AWS RDS Instance”